“If somebody offers you an amazing opportunity but you are not sure you can do it, say yes –
then learn how to do it later.”
then learn how to do it later.”
I have taken this Richard Branson quote rather literally a couple of times already this month, even though my 'opportunities' are small potatoes compared to Sir Richard's endeavors.
In any case, both of these opportunities involved re-creating cakes that I had no idea how to do at first: this Brave cake from the adorable MomTog Diaries blog, and a barnyard-themed birthday cake that I found limitless inspiration for on Pinterest. Coincidentally, both of these cakes were to be for little girls turning two, and I used to work with each of their moms in my old life at Labatt.
At first blush, both of these cakes are sweet and uncomplicated. My initial reaction was that I could simply form the shapes out of fondant or gumpaste and let them dry. However, I was plagued by images of that Brave bow and arrow sagging and drooping over the sides of the cake in the summer humidity, unable to support its own weight. And after forming these jungle animals out of fondant molded over a Rice Krispies treat base, I was familiar with the weight of sugar animal bodies pressing down on tiny fondant legs.
Oh, the gravity of the situation! (Pun intended.)
But then, in an act of kismet or karma or something, my cousin Sara who lives across the pond (the very same super-smart, eagle-eyed one who identified the source of my favorite recipe), posted a link on Facebook about modeling chocolate.
That post sparked memories of the Cake Boss episodes I love to catch on TLC. Invariably there is a cake in every episode that requires a modeling chocolate element (or as Buddy says, "mah-delling chaww-colate").
Of course! Modeling chocolate! How easy Buddy makes it seem! PERFECT!!
However, I had had a little bit of experience with candy melts through attempting to coat cake pops, and already knew that this stuff was temperamental. So I did my research.
I found videos to be particularly helpful (as opposed to articles), so you can see just how far to mix the corn syrup and melted candy before it starts to separate and turn into a compostable mess. A simple googling of "modeling chocolate tips" gave me more than enough info to get started, and here are the four resources I found most useful:
I had the most success with the store brand candy melts I found at Bulk Barn (vs. the higher quality chocolate brands) and used a ratio of 1 pound candy melts to 1/2 cup of clear corn syrup.
For Adelaide's Brave cake, I traced a 9-inch diameter circle on cardboard and sketched a bow on top of it, which I then covered with parchment paper circles to form the bow on so things wouldn't stick. I figured this was a simple way to get the proportions and shape right. I left the bow to settle overnight, and then wrapped strips of brown fondant around the handle, reminiscent of leather. I learned then that handling modeling chocolate figures repeatedly causes it to soften again, so I did this part quickly.
In any case, both of these opportunities involved re-creating cakes that I had no idea how to do at first: this Brave cake from the adorable MomTog Diaries blog, and a barnyard-themed birthday cake that I found limitless inspiration for on Pinterest. Coincidentally, both of these cakes were to be for little girls turning two, and I used to work with each of their moms in my old life at Labatt.
At first blush, both of these cakes are sweet and uncomplicated. My initial reaction was that I could simply form the shapes out of fondant or gumpaste and let them dry. However, I was plagued by images of that Brave bow and arrow sagging and drooping over the sides of the cake in the summer humidity, unable to support its own weight. And after forming these jungle animals out of fondant molded over a Rice Krispies treat base, I was familiar with the weight of sugar animal bodies pressing down on tiny fondant legs.
Oh, the gravity of the situation! (Pun intended.)
But then, in an act of kismet or karma or something, my cousin Sara who lives across the pond (the very same super-smart, eagle-eyed one who identified the source of my favorite recipe), posted a link on Facebook about modeling chocolate.
That post sparked memories of the Cake Boss episodes I love to catch on TLC. Invariably there is a cake in every episode that requires a modeling chocolate element (or as Buddy says, "mah-delling chaww-colate").
Of course! Modeling chocolate! How easy Buddy makes it seem! PERFECT!!
However, I had had a little bit of experience with candy melts through attempting to coat cake pops, and already knew that this stuff was temperamental. So I did my research.
I found videos to be particularly helpful (as opposed to articles), so you can see just how far to mix the corn syrup and melted candy before it starts to separate and turn into a compostable mess. A simple googling of "modeling chocolate tips" gave me more than enough info to get started, and here are the four resources I found most useful:
- this Craftsy article by Lauren Kitchens (is that really a baker's real name!?)
- this how-to video, also by Lauren Kitchens
- this FAQ on the Jessicakes blog
- this how-to video by My Cupcake Addiction, to compare another baker's method
I had the most success with the store brand candy melts I found at Bulk Barn (vs. the higher quality chocolate brands) and used a ratio of 1 pound candy melts to 1/2 cup of clear corn syrup.
For Adelaide's Brave cake, I traced a 9-inch diameter circle on cardboard and sketched a bow on top of it, which I then covered with parchment paper circles to form the bow on so things wouldn't stick. I figured this was a simple way to get the proportions and shape right. I left the bow to settle overnight, and then wrapped strips of brown fondant around the handle, reminiscent of leather. I learned then that handling modeling chocolate figures repeatedly causes it to soften again, so I did this part quickly.
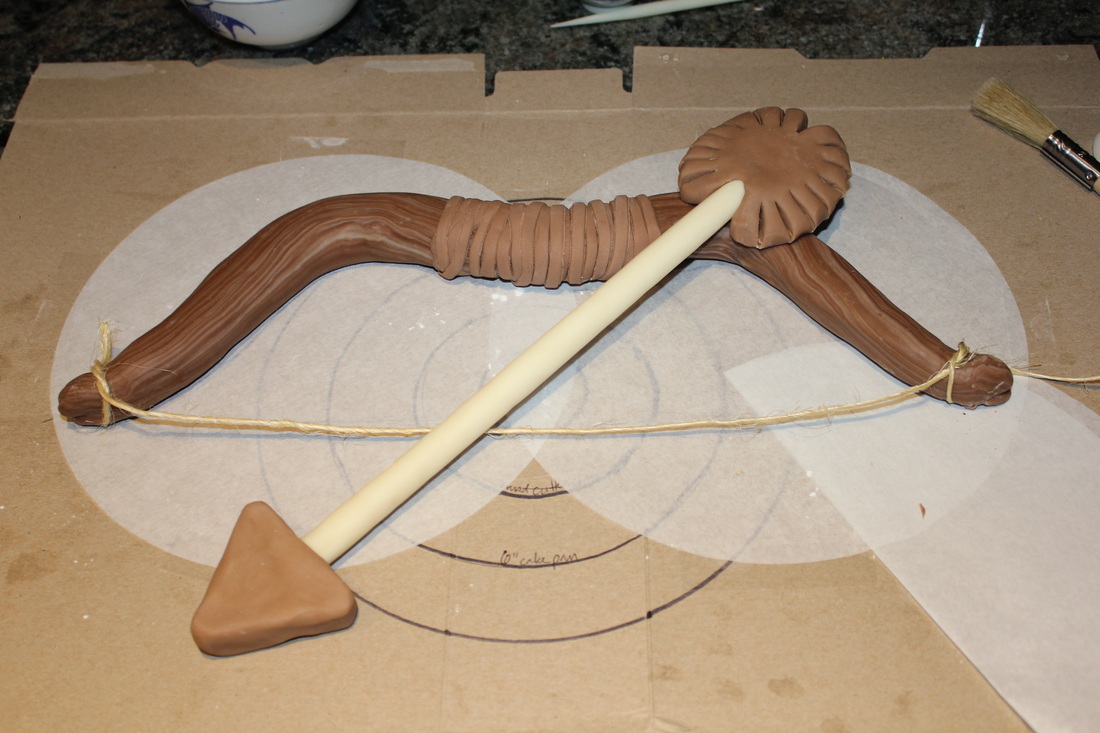
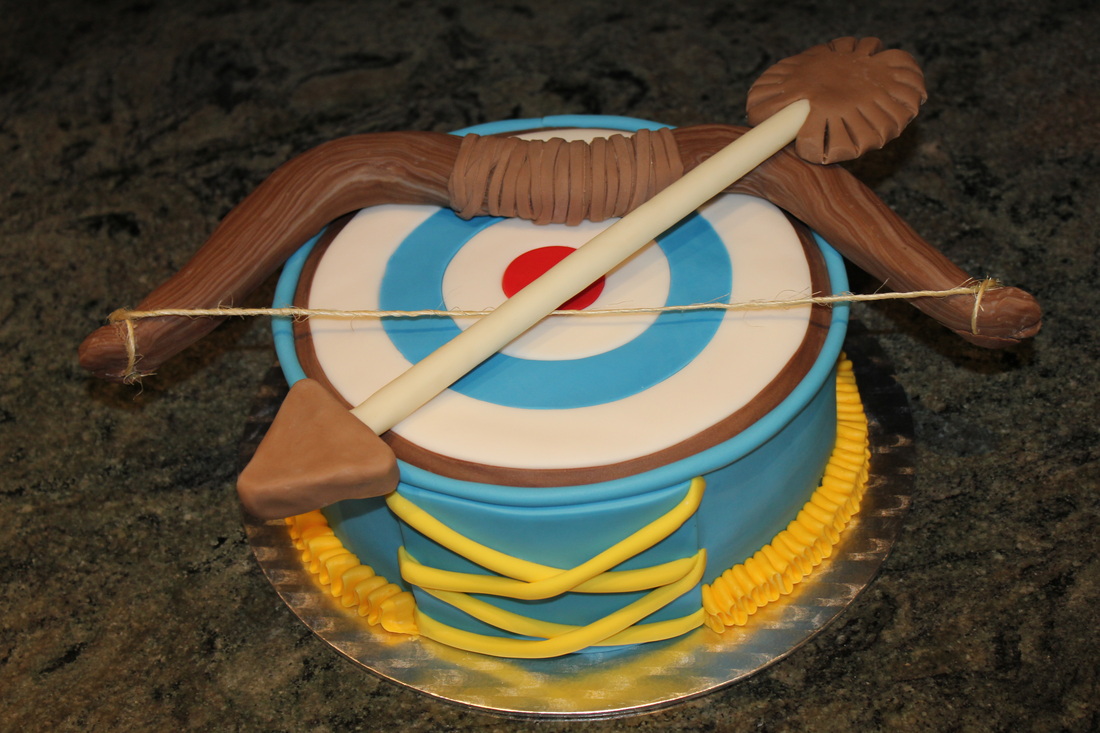
With a little bit of luck and an extra band of blue fondant, that bow miraculously balanced on top of the cake! The only inedible parts of this cake are the twine for the bow string and an oversized lollipop stick inside the arrow.
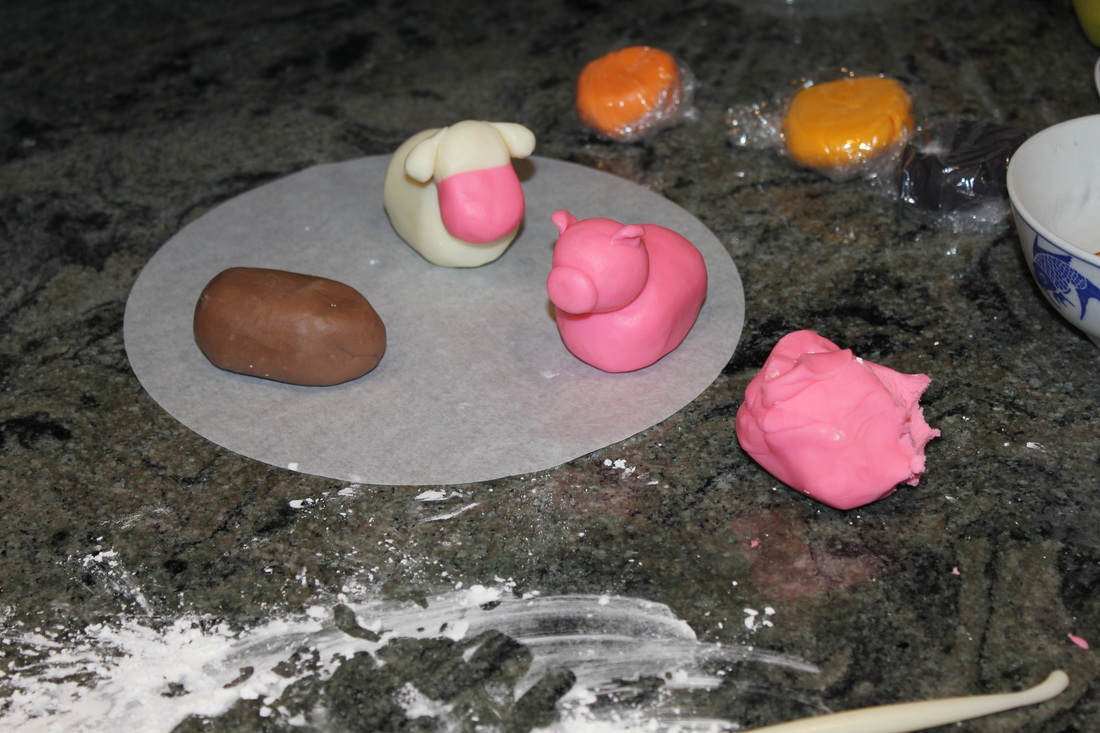
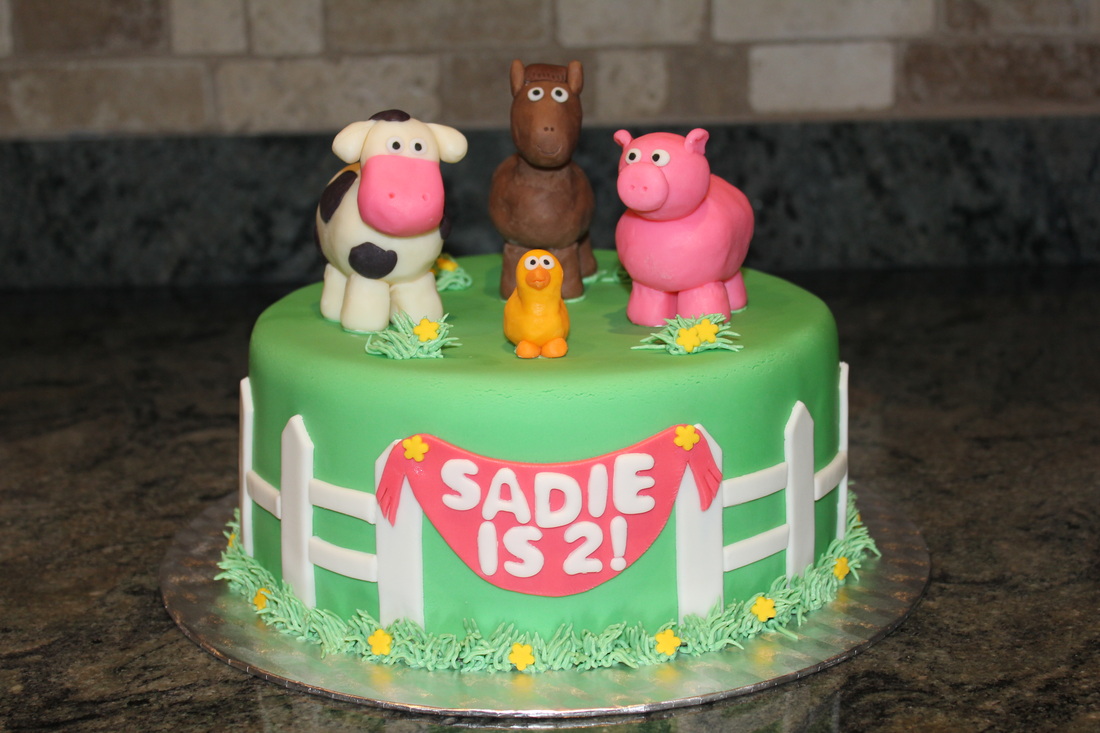
For Sadie's birthday, her mom was looking for a sweet and simple barnyard cake. We browsed through pictures from Pinterest and I quickly realized that "simple" and "barnyard" aren't exactly compatible, because barnyards have lots of different kinds of animals, all of which take time to make! We settled on a cute little foursome of a cow, a horse, a pig and a duck.
Here they are in their initial stages of development. That one on the left will eventually become a horse, I swear.
Here they are in their initial stages of development. That one on the left will eventually become a horse, I swear.
Some of you may have noticed this cake in process if you looked closely through the contents of my fridge last Friday. Onions - check. Eggs - check. Leftover pasta - check. Wedding cake - check. Bud Lime Straw-Ber-Rita - check. Barnyard cake - check.
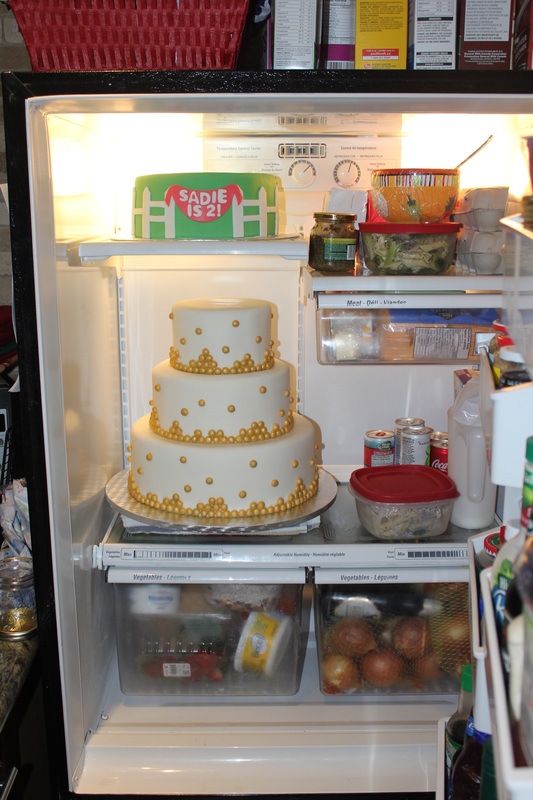
With the addition of a little buttercream grass and a few happy yellow daisies, I'm still kind of in love with Sadie's cake.
So if the moral of the story is "say yes, and figure out the details later", does this apply to things like skydiving and heli-skiing too?
Happy 2nd birthday, Adelaide!!
And happy 2nd birthday, Sadie!!
Happy 2nd birthday, Adelaide!!
And happy 2nd birthday, Sadie!!
 RSS Feed